Crystal Sage |
||
|---|---|---|
 |
||
 |
 |
Location |
| 2723 | 8000 | Road of Sacrifices |
| Drops | Soul of a Crystal Sage | |
| Defenses | ||
| Weak | Resistant | Immune |
|
|
n/a | |
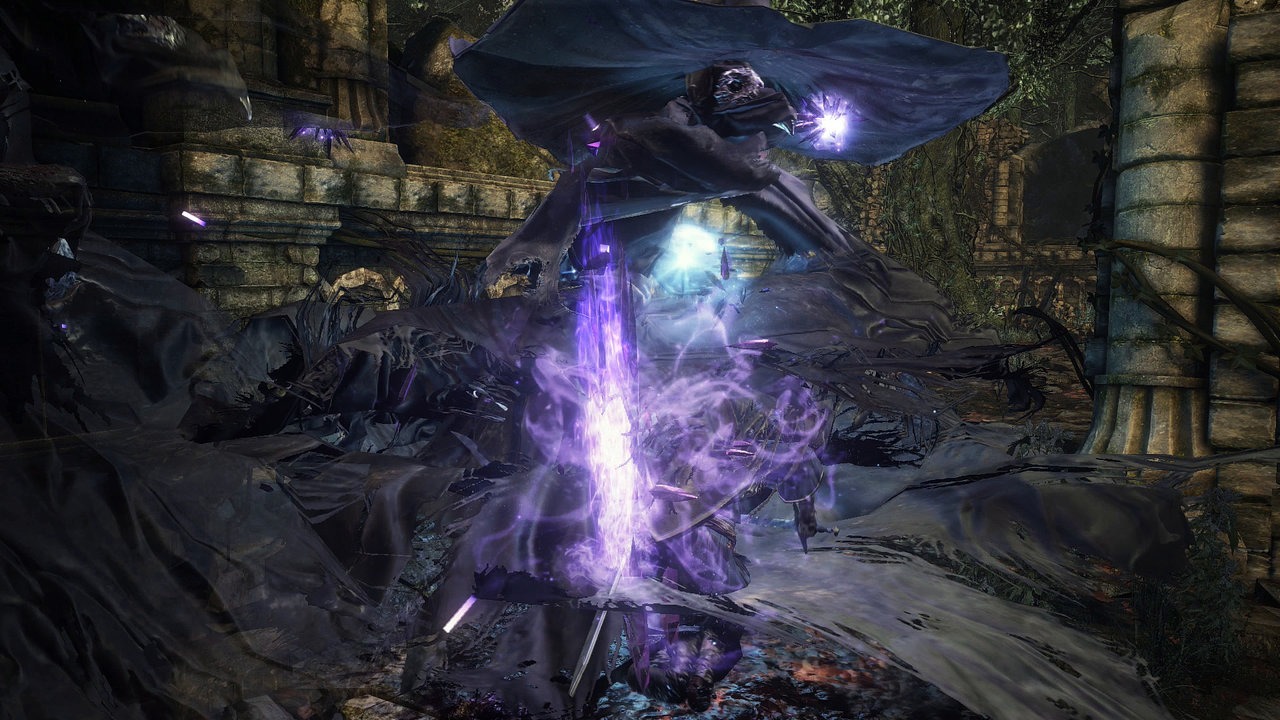
Crystal Sage is a boss in Dark Souls 3.
Crystal Sage Information
- Not optional: must be defeated to proceed to the Cathedral of the Deep.
- You can summon Eygon of Carim after saving Irina of Carim. His summon sign appears behind a pillar in the room immediately prior to the Crystal Sage fight.
- Not to be confused with the mini-boss version located in the Grand Archives.
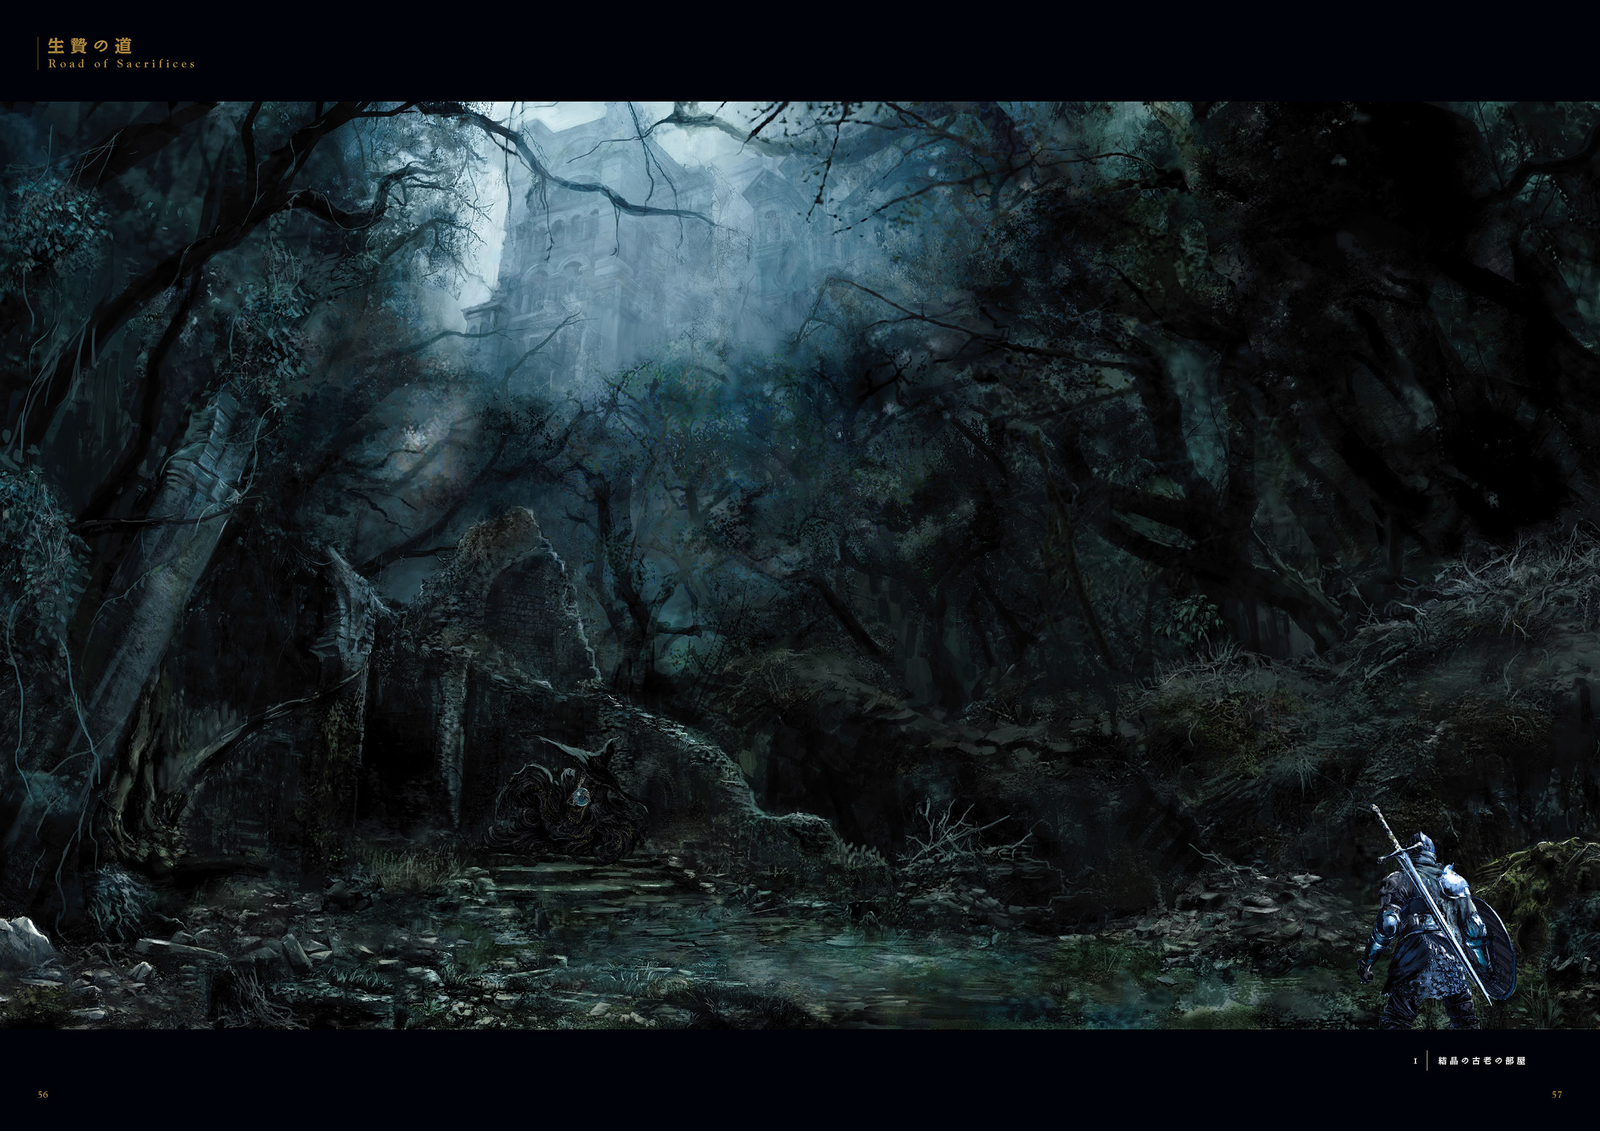
Location
- Road of Sacrifices. Located to the left of the swamp, accessed by going into a dilapidated building, past a group of enemies and up the stairs. A map is provided here.
Drops
- Souls: NG (8,000), NG+ (40,000), NG++ (44,000), NG+3 (45,000), NG+4 (48,000), NG+5 (??), NG+6 (49,000), NG+9 (51,000)
- Co-Op Souls: NG (2,000), NG+ (??), NG++ (11,000), NG+3 (??), NG+4 (11,250)
- Soul of a Crystal Sage
- Its hat can be bought from Shrine Handmaid after defeating it
Combat Information
- Health: NG (2723), NG+ (6413), NG++ (7054), NG+3 (7375), NG+4 (7696), NG+5 (8337), NG+6 (8658), NG+7 (8978)
- Attacks deal Magic Damage, Standard Damage and Thrust Damage.
- At medium/long distance attacks with various spells, at close uses Crystal Sage's Rapier. Rapier can be parried, which in case of success allows a riposte. Some spells can be spell-parried with the proper shield.
- Weak to Physical-type damages, Lightning Damage, Poison, Toxic and Frostbite.
- Resistant to Magic Damage.
- Teleports when damaged enough. Tends to prefer the corners and sides of the arena.
- In its second phase, creates Clones that use blue magic, different from the original's, which is purple. These clones only spawn after the Sage teleports and die in one hit.
Strategies
Video Strategies
Only Youtube Partners can place videos. Embeds from FL channel only - please add your link below if you're a partner.
Strategy 1 (Melee)
Since this boss can be staggered, rushing it is the best choice. Running, make sure to move around all projectiles it hurls at you while closing the distance. Once you've gotten to it, hit it as many times as you can, since you'll have a short time to deal any damage until it teleports.
Paying attention to both its Sword attacks, which are relatively subtle, and making sure to be close enough to it that it can't hit you with Homing Spells while staggered is thoroughly advisable. Even if you're using a weapon with good range or sweet spots, such as a Halberd.
Once it begins its second phase, quickly take out the Clone that spawns in the middle of the arena. Taking out the other ones can be done with either running attacks or Throwing Knives, the latter being more advisable. Making sure not to be hit while taking the clones out can be a bit hard, but can be done as long as you do not run out of stamina and keep running.
When there are no Clones, go for the Sage.
Extra tip: Keep your weapon buffed with Lightning Resins while it is teleporting to deal as much damage as you can.
Strategy 1.5 (Melee Rush)
Alternatively, you can try to predict where the Sage will teleport to (generally the opposite end of the arena) and rush it throughout the fight, ignoring the summons. The summons teleport along with the Sage so high damage output is preferable to cause very quick teleports, giving you time to heal and get ready to find the Sage on reappearance. When the Sage teleports with the summons and they all reappear, find the purple magic caster and rush it (this is the main boss, the summons cast blue magic).
Strategy 2 (Magic)
(NG) Casting Magic Shield on East-West Shield allows you to soak up a small portion of magic damage - while insignificant, this can help you to stay alive. Since the Crystal Sage is highly resilient to magic damage, you are advised to land as many melee blows as possible. During Phase 2, it is highly recommended to use an Ember to raise your maximum health.
(NG+ onward) Make sure you cast Crystal Magic Weapon before entering the fog gate, so you have maximum damage output on the Sage. In the first phase, proceed to rush the sage, preventing it from casting spells on you. Casting Great Magic Shield will enable you to block all of its magic attacks at no damage to you and you can easily recast it between teleports. In the second phase you can use Homing Crystal Soulmass (cast between teleports) to kill one or two of the illusions. Remember illusions shoot blue magic! Aim for the purple magic wielding one and you are golden.
Strategy 3 (Archery)
Make sure to have the maximum amount of arrows and a decently upgraded bow before the battle. In the first phase stand behind the left or central pillar to avoid most of the attacks. Mind the Soul Rain as it can still hit you. Be careful and watch your sides in the second phase as the Sage starts spawning clones.
Strategy 4 (Throwing Knife Spam)
Its second phase can be easily beat by using Throwing Knives to take out its clones before going for the real one.
Strategy 5 (Pyromancy)
At the start of the fight, run up to the boss and immediately use Sacred Flame when you have the chance. Keep spamming it even after you just use the spell until the boss's health is depleted. This also allows you to skip the 2nd phase completely.
Strategy 6 (Phase 2 skip)
Rush the Sage at the start of the fight, and hit it til it has around 60% HP left. It's very important that the HP does not get under 50%, because that will trigger phase 2, which will spawn the clones. Should this happen, just homeward bone or quit out, since the strategy is ruined, and it's not worth the risk of getting hit.
A melee attack will cause a slight stagger and interrupt it's current attack so rushing up and attacking should be relatively safe. At this point in the fight when the Sage has about 60% HP left, it should teleport under the ground and appear at another place.
As you did in the start of the fight, rush him down again to minimize the time it has to do attacks and get close to him. When you are close to the Sage it will try to hit you with melee attacks in the form of three swings with it's rapier. These can be parried, and afterwards the Sage can be Riposted. This riposte will cause huge amounts of damage and throw the Sage to the ground. When it get's up, you should have about 2-3 seconds to finish it off with the low amount of HP it has left, before it tries to teleport under the ground again and start phase 2. If you successfully follow these instructions, the Sage should die in phase 1, and phase 2 should be completely skipped, consequently making this boss fight easier and safer.
Completely skipping the second phase of the fight greatly reduces the chance of getting hit, or even worse - dying. No hit runners often use some variation of this strategy to minimize the risks when fighting this boss. The best thing with this strategy is that you don't need very much damage to successfully do it, although it is recommended to kill the Abyss Watchers, and even High Lord Wolnir, to be able to level up to an adequate level. Also get the Large Titanite Shards in the Smouldering Lake and reinforce your weapon to be on the safe side in terms of damage. It's animation when winding up it's rapier combo is easy to spot, and the Sage is easy to parry, so this strategy should be accessible to new players as well as veteran no hit runners. Tip when parrying the Sage - it's better to parry when it seems "too late" rather than too early since it winds up it's first swing for a counter-intuitively long time.
Attacks
| First Phase | |
|---|---|
| Attack Name | Attack Description |
| Homing Crystal Soul Mass | Same as regular spell though easier to dodge considering the Sage's size |
| Soul Spear | Same as regular Soul Spear albeit slightly larger |
| Soul Rain | Summons a rain attack that can hit behind objects |
| Soul Crystal Mass | Summons a large, slow moving, homing soul mass to attack the player |
| White Dragon Breath | Shoots a laser at the ground that creates a long trail of damaging crystals |
| Ice Crystals | Protrude from the ground whenever the boss teleports |
| Rapier Combo | Sweeps its Rapier from side to side twice. Finishes the combo by reeling back, then thrusting the rapier through the player. If this connects, the player is lifted off the ground as crystals sprout along the length of the rapier, skewering the player and dealing high magic damage |
| Clones | At 50% Health, clones start being summoned. They can be distinguished by their blue magic, opposed to the true Sage's purple magic and will dissappear after one hit |
Lore Theories
- The Crystal Sage on the Road of Sacrifices trained the Undead Legion of Farron to use magic. As a result there are now several "Farron" spells.
- The Crystal Sages are twins and are called "the preacher twins". The other twin is in the Grand Archives.
- Their favorite pupil was Crystal Kriemhild who also sired Daughter of Crystal Kriemhild.
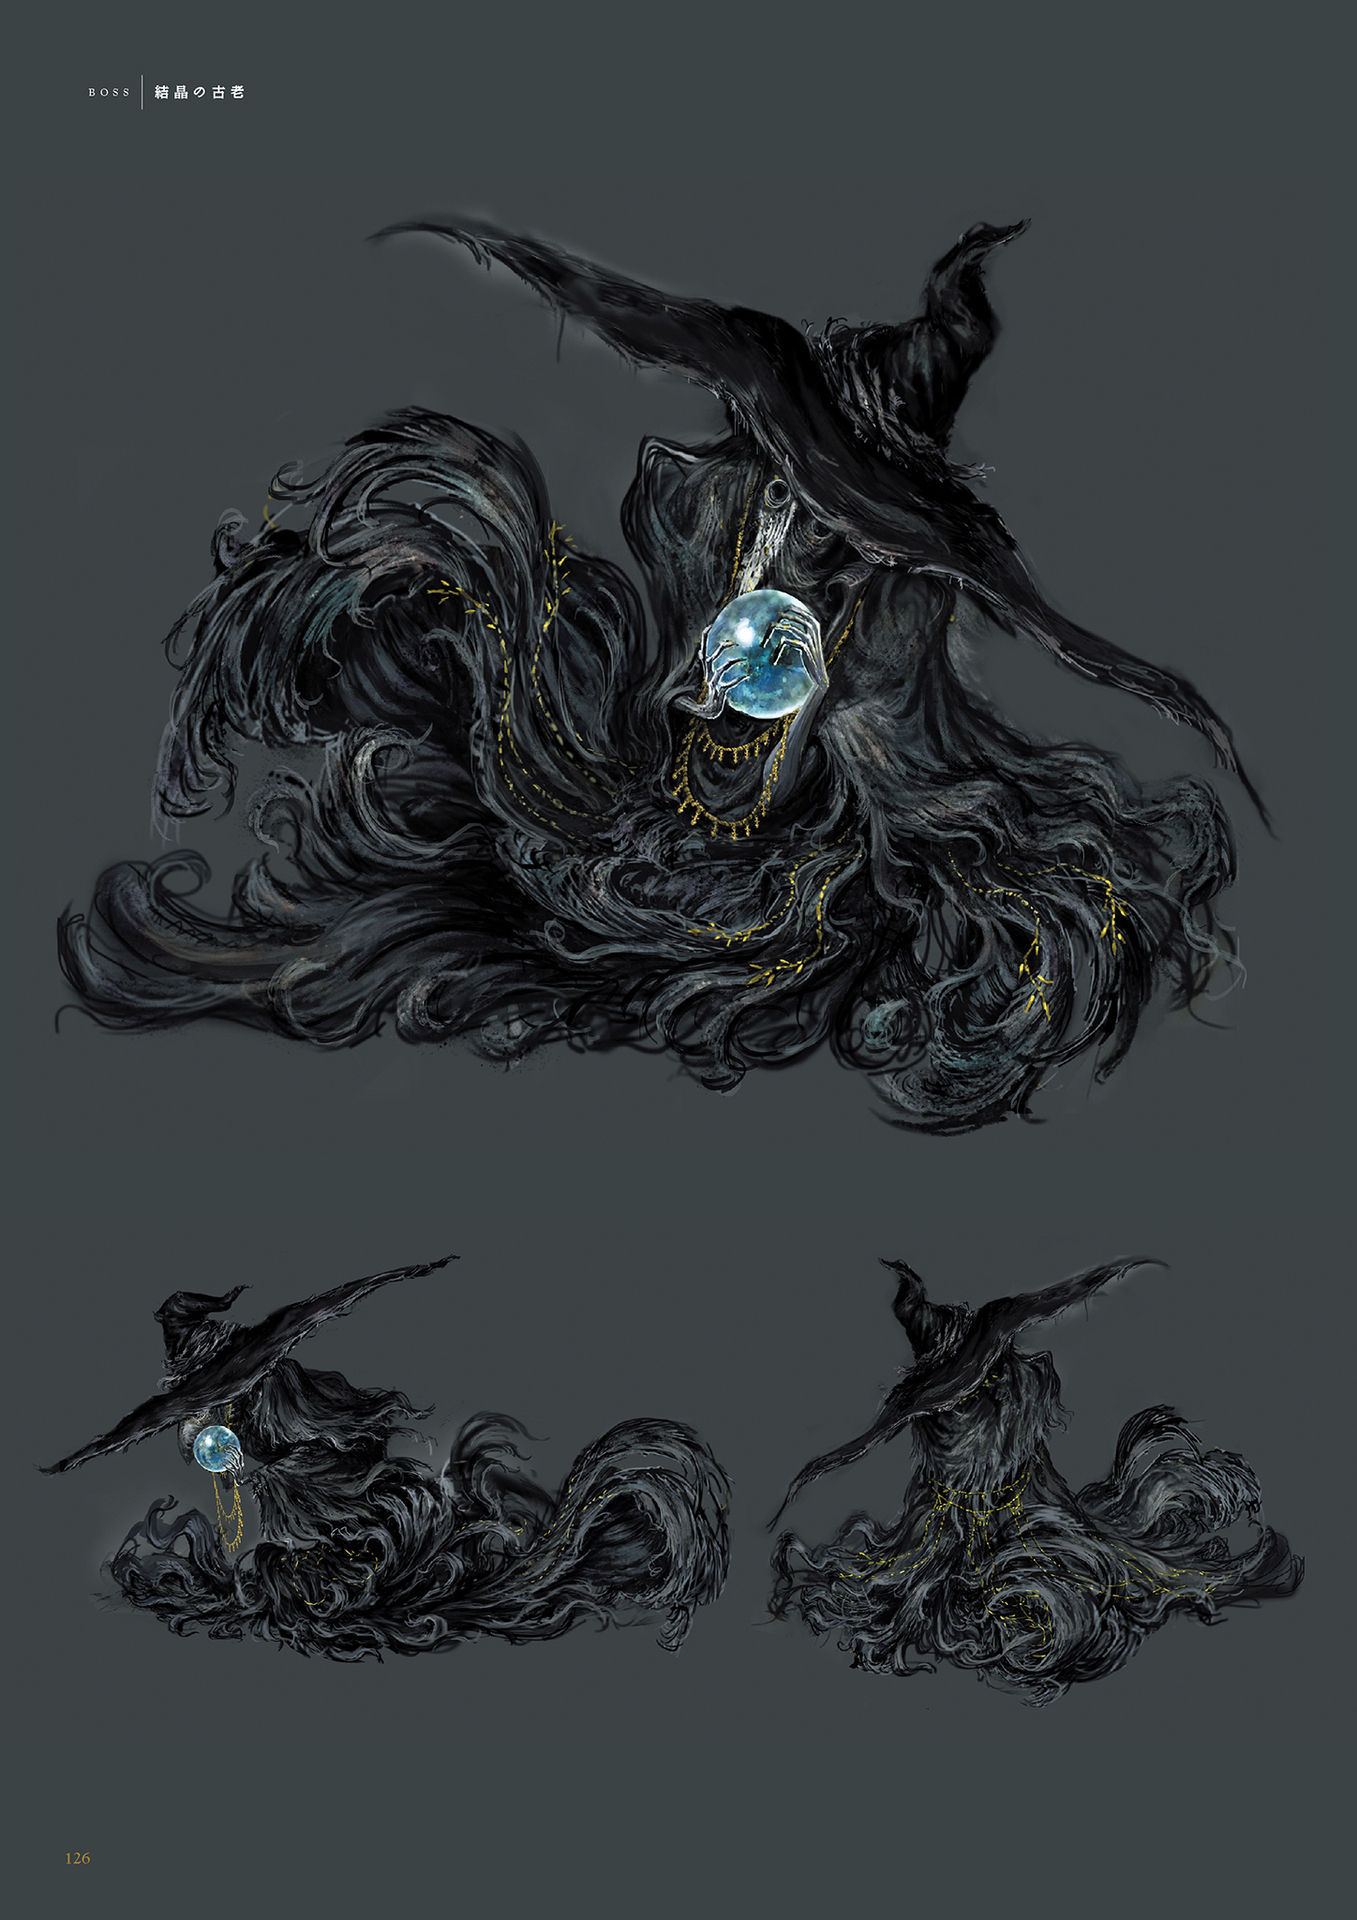
- The item description on Sage's Crystal Staff reads that crystal spheres devour the will of their user. Perhaps this is why they are mad.
- The two sages were trained by Big Hat Logan, which is mentioned in the examine text for its hat. Their spells are reminiscent of his.
Notes & Trivia
- Using the Blue Bug Pellet found right before the boss, near Orbeck of Vinheim, will help during this fight.
- It is possible to predict where the boss will approximately spawn after it disappears. These rules of thumb work most of the time but the boss seems to be patched somewhat more unpredictable lately: During phase one, if the boss casts teleport near the west wall, it will spawn near the opposite, east wall around an area where there are no crystals. If boss disappears in a corner, it will appear in the crystal free side of the opposite corner.
- During phase two with multiple clones, the real boss will again usually spawn at the opposite side of the arena, but this time around an area where there are multiple crystals.
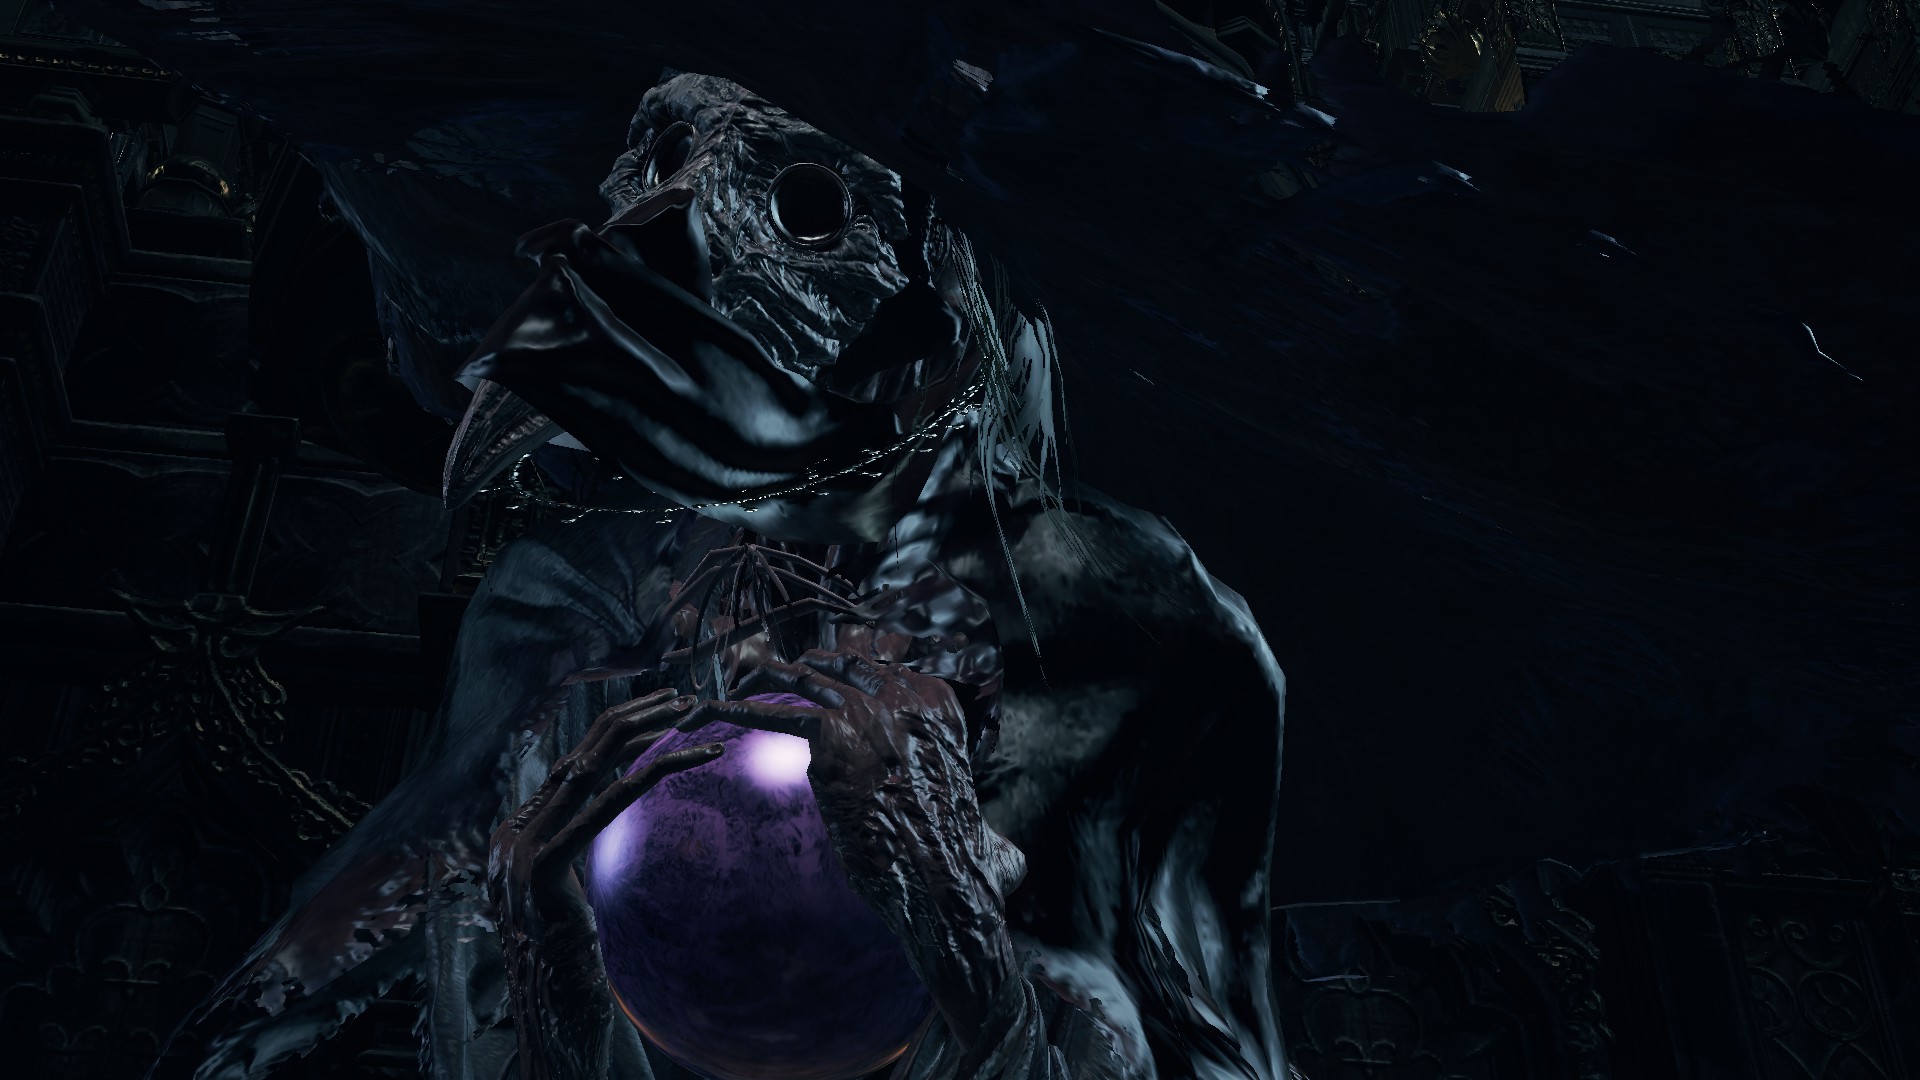
- The mask worn by the Sage is reminescent of Bloodborne's Beak Mask.
- Bug - A potentially fight-ruining glitch sometimes occurs (in experience, while cooperating online) during the fight with the Sage in the Road of Sacrifices, which appears to result from hitting a clone shortly before it begins its warp animation. With sub-optimal connection, the game may not recognize the clone has been hit until they already have entered the animation, causing it to stagger, but not dissipate; while the others, including the true mage, teleport away. The clone then becomes inexplicably invincible and returns to fighting the players; the true mage or the other clones with it will not return, and due to the fact the main mage is required to trigger the warp animation the now invincible clone will never warp from the arena. This renders the fight unbeatable, forcing the player, should they not have a homeward bone, to willingly die to the invincible clone or use the dark sign in order to escape from the encounter. (You can also quit the game and reload in order to leave the boss fight.) (Version 1.04, PS4)
- Bug - There is a possible exploit, where the host is able to stand within the boss room without triggering the fight, yet completely isolating themselves away from any invaders. This happens because all phantoms have a permanent fog gate at the boss room, regardless of whether the fight has been initiated or not.
- The Sage can't teleport if he has Homing Crystal Soul Mass active. If you get close enough to him before they cast, one or two won't fire as long as you stay on the opposite side of that Soul Mass. Attack while circling around him for an easy kill.
Gallery