Dragonslayer Armour |
||
|---|---|---|
 |
||
| General Info | ||
 |
 |
Location |
| 4,581 | 48,000 | Lothric Castle |
| Drops | Soul of Dragonslayer Armour | |
| Defenses | ||
| Weak | Resistant | Immune |
|
Wolf Knight's Greatsword Farron Greatsword |
|
|
Dragonslayer Armour Information
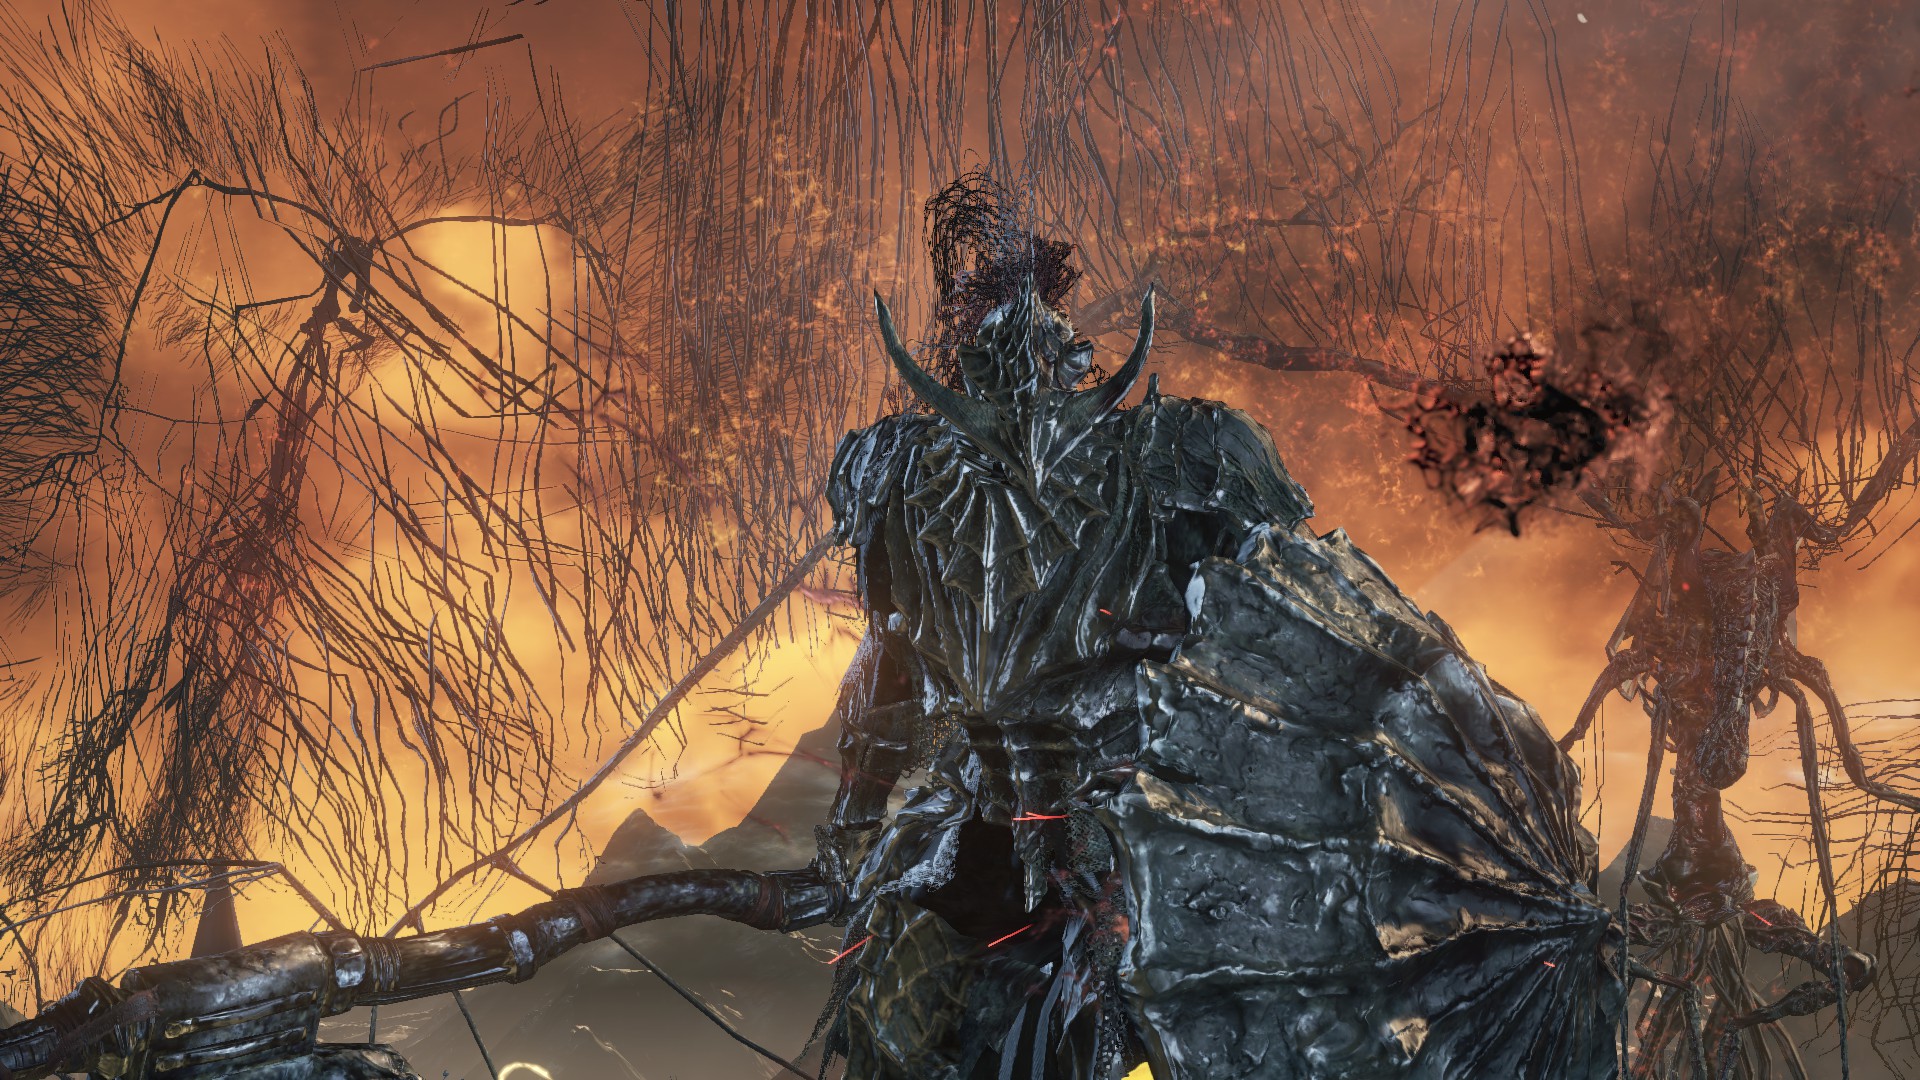
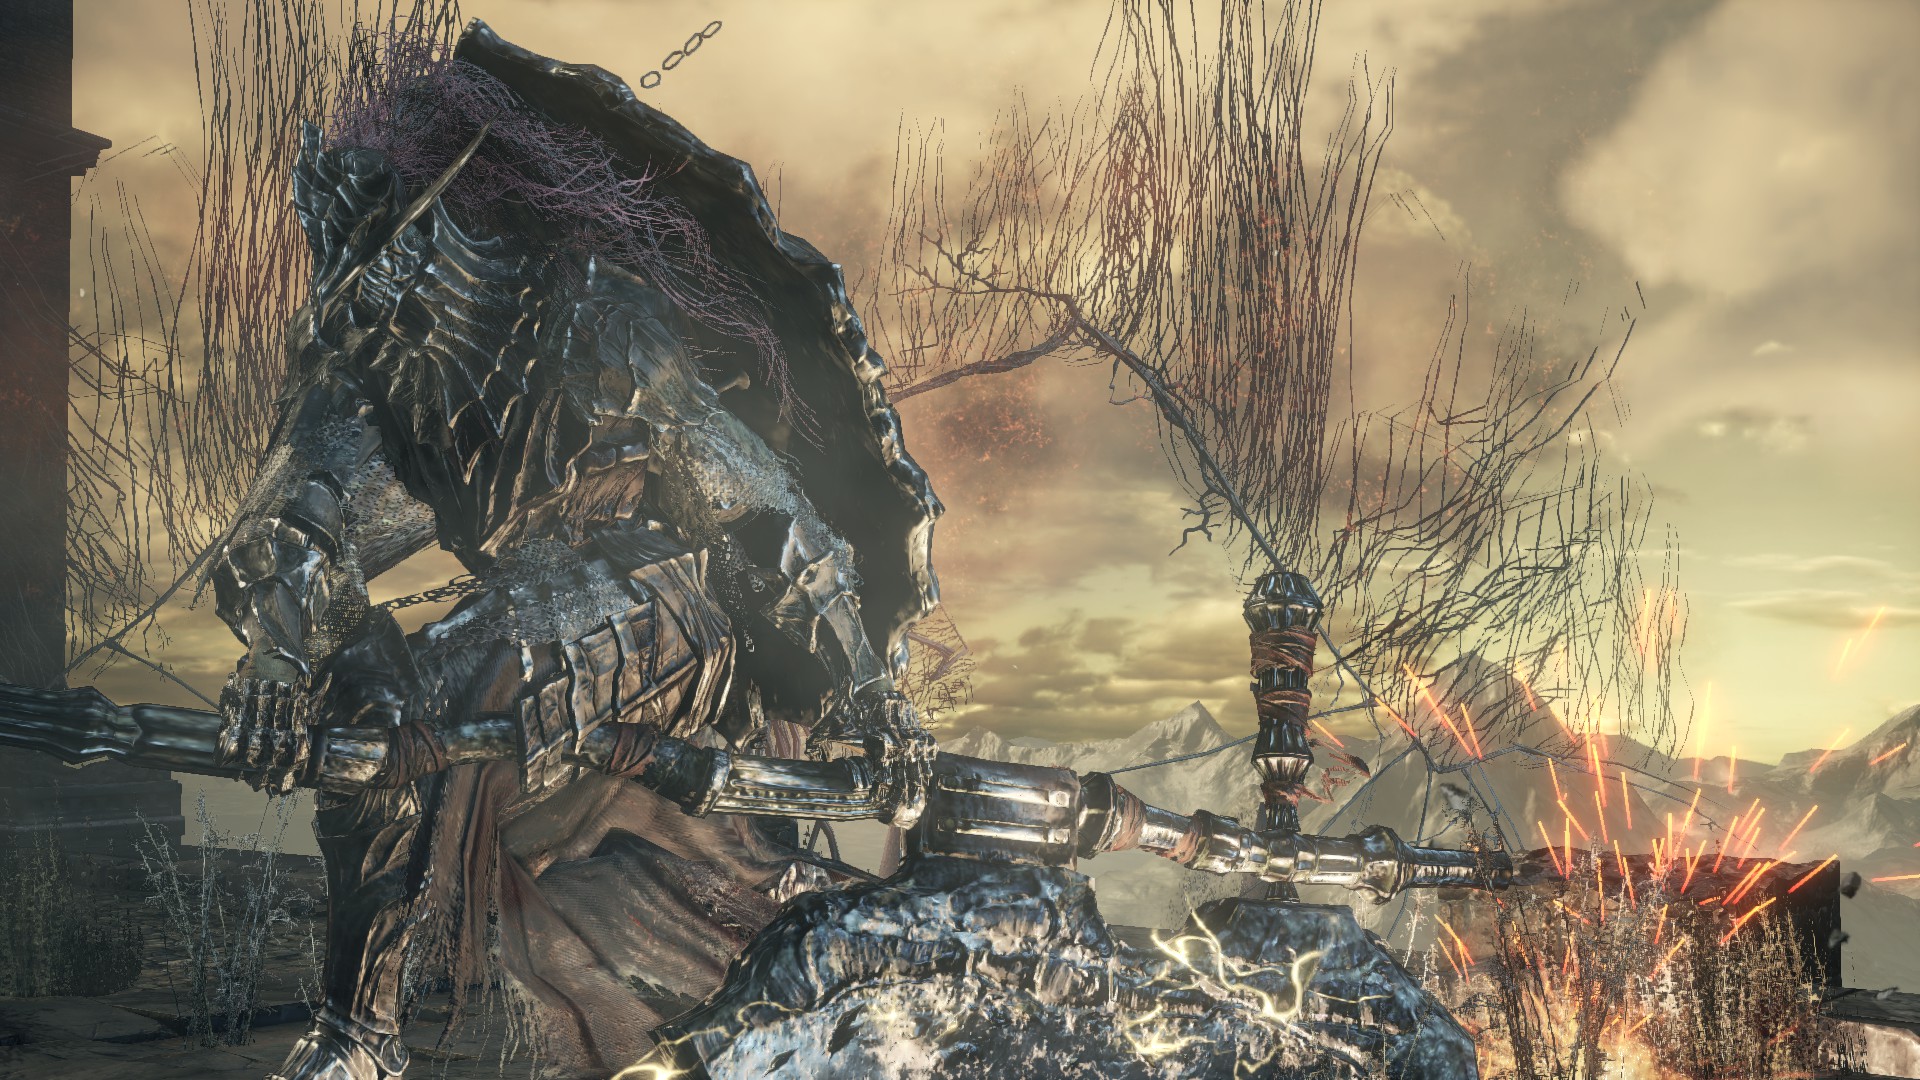
Dragonslayer Armour is a boss in Dark Souls 3. This autonomous suit of armor is guarding the entrance to the Grand Archives, and is assisted by Pilgrim Butterflies, which are actually the ones animating the suit.
- Not Optional: Must be defeated to progress to the Grand Archives.
- You can summon Eygon of Carim to help you fight this enemy. Sign can be found in the building to the right of the stairway leading to the boss fog on the right side just beyond the doorway.
- You can summon Sirris of the Sunless Realms to help you fight this enemy. Sign can be found at the left side of the stairs leading up to boss.
Location
- Lothric Castle - Dragon Barracks, after the double wyverns and past several knights. There's a shortcut nearby and the Warriors of Sunlight statue.
- This enemy can also be found as a miniboss in the Ringed City DLC, at the far end of the locust-filled swamp, just past the corpses of several Harald Legion Knights.
Drops
- Souls: NG (64,000), NG+ (105,600), NG++ (128,000), NG+3 (144,000), NG+4 (153,600), NG+6 (157,612), NG+9 (163,200)
- Co-Op Souls: NG (16,000)
- Soul of Dragonslayer Armour
Combat Information
- Health: NG (4,581), NG+ (5,456), NG++ (6,002), NG+3 (6,275), NG+4 (6,548), NG+5 (7,093), NG+6 (7,366), NG+7 (7,639)
- Dragonslayer Armour's attacks deals Standard Damage, Strike Damage and Lightning Damage.
- During the whole battle, Dragonslayer Armour is accompanied by 2 Pilgrim Butterflies. During 1st phase they are inactive, during seconds casts spells, that deals Fire Damage and Dark Damage. They can be killed, but it does not affect Dragonslayer Armour, plus they die when Armour is killed.
- Dragonslayer Armour is an abyssal creature, therefore it weak to Farron Greatsword and Wolf Knight's Greatsword.
- Weak to Frostbite and Strike Damage.
- Resistant to Lightning Damage, Dark Damage and Slash Damage.
- Immune to Poison/Toxic and Bleed.
- Its attacks can destroy railings, allowing his subsequent attacks to knock players off the side of the bridge. Beware, he can also knock you through railings to your death.
- Go for its back and aim to roll behind him.
- Can be parried - In phase 2, the attacks that come from the "Stance" Can be parried. They are: The slow windup 2 handed big swipe, the running attack where he drags his greataxe on the ground as well as the uppercut that creates a projectile. All these can be successfully parried. However, he cannot be riposted, you are only able to do extra damage for a brief period.
- Can be poise-broken and guard-broken, but that does not allow to perform a riposte, you are only able to do extra damage for a brief period.
- Using Pestilent Mist will not activate phase 2, and will grant a unique death animation.
Strategies
Video Strategies
Only Youtube Partners can place videos. Embeds from FL channel only - please add your link below if you're a partner
- Melee+Frostbite, Pontiff's Knight Scythe, SL 66 (no heal)
- Deprived Dragonslayer (Vigor/Luck Build) Use Strategy 1 with visual assistance from video.
Strategy 1 (Melee)
Dragonslayer Armour is a tough, but manageable boss fight. This boss is more intimidating than anything and his shield is actually more dangerous than his axe.
When you first walk in approach the boss and roll through his jumping attack getting in an attack if you can. Next you will want to bait him into a 2/3 hit combo with two swings of his axe, and then hit him if he doesn't try to bash you with his shield after the second swing. Split second decisions are a big part of this fight, but won't generally get you killed if you react incorrectly.
Keep trying to get that 2/3 hit combo getting in hits where you can. Sometimes he will do a 2 hit shield combo and you can dodge this as well and sneak in a hit or two. Sometimes he will hold up his axe and do a long sweeping attack. You can generally hit him a couple of times here before dodging at the last second, since the tracking on this attack is really bad and tends to miss a lot.
His slam attack that lets out a ton of lightning only hits in front of him, so if you roll behind and wait for it to finish you can usually get two attacks in.
His sweep attack (always does it at the start of phase 2) takes a long time to charge, and is easily dodged by rolling to his left.
When you get to phase 2, projectiles will start raining down from either side of the bridge. While this might sound terrifying, it's really not that bad, and since you are rolling frequently you will generally avoid most projectiles unintentionally. Just keep your eyes open and if you start seeing them land, roll away from the boss until they stop.
One last note. Sometimes you will kill the boss and the projectiles are on their way down. They still keep coming and might kill you if you just stand there or are at low health, so be sure to roll or heal immediately after killing the boss.
Strategy 2 (Sorcery)
The Dragonslayer Armour can be a really tough enemy for a Sorcerer. Of course, it all depends on your build. Since you're this far into the game I'd recommend using the best staff you got. I also recommend using Great Heavy Soul Arrow since it will inflict some pretty good damage and has a fast casting time. You can also use Great Magic Shield if you prefer blocking over rolling. When the fight starts, run against him; roll away from his first attack and go behind the fountain. Start to circle around it, try and bait his attacks, roll to dodge, and cast a spell while he is trying to hit you; try to not cast any spell when he lifts the shield. Be careful with the two-handed attacks, they can kill you in a single hit. When the Butterflies start to throw fireballs at you, roll away. Keep doing that and you will eventually get the kill. Good Luck.
Strategy 3 (Pyromancy)
This boss won't be too tricky for pyromancers. Since the boss is resistant to dark, use your fire spells.Chaos Bed Vestiges will take good chunks out of his health. Keeping your distance is a good strategy, and since the boss's attacks aren't too fast, you shouldn't have much difficulty in dodging once he eventually closes the distance. A dodged attack will also give you time to cast a spell, since he doesn't recover all that fast. During the phase transition, you'll have ample chance to lob spells at him, and as long as you're not in melee range, you won't have to worry about being hit. Don't waste your spells when he is blocking, and try to bait an attack or wait for him to lower his guard.
Attacks
| First Phase - The Dragonslayer Armour attacks with a greataxe and greatshield with some variety and high mobility. | |
|---|---|
| Attack Name | Attack Description |
| Smash | A strong vertical hit that punishes anyone in front of him |
| Horizontal Blade Swings | A horizontal slash with a lot of reach, You can block or roll under it. He can combo it twice followed by a third slash. He is open as the third is noticeably slower than the first two. Third blow is diagonal. |
| Horizontal Shield Swings | A horizontal slash with less reach, but packs a punch. He can combo it twice, and he can finish with a shield smash, which makes him pause for a short opening. |
| Charge Smash | Just like the weapon's art, he stands straight, charges it and slams it down with a vertical hit, creating an AOE blast on impact. This move deals high damage, roll recommended. |
| Leaping Attack | Quite like the player, he can jump and attack with his weapon. |
| Shield Smash | He smashes down with his shield. |
| Shield Block | A defense that gives him great protection. A counter like Shield bash may follow if you persist. His stamina is not infinite, but he has a lot of it. |
| Slice | Slices and spins |
| Shield Bash | Introduces his shield to your face. |
| Second Phase - Dragonslayer Armour begins to use weapon arts. Butterflies attack | |
| Attack Name | Attack Description |
| Charge Attack | He changes his stance and readies his blade. His movement is slowed, but soon a devastating AOE slash will come. |
| Shield Leaping Attack | A run followed by a leaping blow, but it's a shield smash that connects. |
| Heavy Leaping Attack | A run followed by a leaping blow, he holds his weapon differently, using handles on both ends. |
| Shockwave hit. | He prepares it by holding the weapon handles on both ends. He slams it down then he raises his weapon up using one hand on the regular handle resulting in a strong attack that has a wind shockwave. |
| Butterfly Attack | The strange winged observers will rain fire on the battlefield, it's not accurate, but there are many bombing projectiles |
| Stagger trap | It looks like you've staggered him, and you can get free hits on him. But he is also preparing a strong AOE slash against those in front of him, sides won't be safe, but behind is safe. |
Lore Theories
- The armor is presumably hollow on the inside, as it is controlled by a Butterfly.
- The armour itself loosely resembles - or is based on - Ornstein's set (layered armour pieces, long decorative headpiece, plume etc.)
- It is speculated that the Pilgrim Butterflies are something that the Pilgrims of Londor, such as Yoel, can become.
- Dragon slayer armour and the Nameless King share some similarities . They are both immune to Poison/Toxic and deal Lightning damage . Also Dragonslayer Greataxe`s Weapon art is somehow similar to one of Nameless King`s attacks that deals massive damage .
Notes & Trivia
- It is possible to cancel his phase change (so that he spends the whole fight without using his unique 2 handed stance moves) if you manage to stagger him during his phase change animation (where he seems to stagger and creates a shockwave as he gets back up). While not extensively tested it is certainly possible if three characters savagely beat on him in unison with weapon arts as soon as he begins the transition into phase two. The Charge weapon art from the Pike and the Astora Greatsword seem particularly effective. The Pilgrim Butterflies will still fire upon you if you manage this.
- His armor set, the Iron Dragonslayer Set, can be acquired in the Ringed City DLC from the Iron Dragonslayer enemy. Located at the far emd of the swamp.
- The Iron Dragonslayer, which is the enemy version of this boss, has half of the attacks of the boss version, making it far less dangerous.
- When Dragonslayer Armour appears to be staggered, he is actually preparing an AoE attack, which can deal massive damage.
- There is an unused, alternate version of the Dragonslasyer Armour's fight theme that can still be found in the game's files. The first phase remains mostly the same (the chrous' singing is slightly different however); the second phase is drastically different, being twice as long and has a completely different arrangement than the one in-game.
- It is not known if the soul you are given after the fight is that of the Pilgrim Butterflies or not.
- Because of the unique arena design, it is possible to get into a "safe" spot, which prevents Dragonslayer Armour from attacking you. This is not advised, though, as in phase 2 of the fight, one of Dragonslayer Armour's attacks is long-range.
- It should be taken into consideration that not only will this boss block attacks with his shield, preventing you from damaging him, but he will also use the shield to attack. Because of this, many consider it's shield to be more powerful and dangerous than the axe. Some even would make jokes about it, saying that the axe is used to defend, while Dragonslayer Armour bashes his enemies to death with his shield.
- The Dragonslayer Armour may be a tribute to Berserk's Grunbeld.
- Once you defeat the Armour, the pilgrim butterfly may fly across the battlefield to leave the area, and this can do damage, so beware of the butterflies if you are low on health.
Gallery